Friday, August 31, 2012

Week 35 or The Strawberry-Banana Bag


My inspiration was this tutorial, which is itself based on the reverse engineering of a bag she was given.  My fabric must have been slightly thicker than hers because it's a really tight squeeze getting it into the strawberry corner.

I'd add some sparkly polka dots next time, since I don't have red spotted material but I do have fabric paint. And make the berry just a smidge bigger. I like the size of this bag. Much smaller and you can only fit one box of cereal in it. And sew my tag in before I put the sewing machine away.


Buy this one (with or without sparkly silver seeds) or order a custom bag at ShopLocket.

Saturday, August 25, 2012

Week 34 or Chalkboards and sails

It's a transitional time of year, so I've made a transitional bag. One side nods to summer, with big red numbers on the field of a white sail. The other nods to school, with chalkboard fabric wiped clean and ready to start anew.

The last time I made a bag out of this sail and used the numbers, I was flying in a trapeze show that night. Tonight the theme is Angry Birds, so I was thinking of something that would fit with that. The black fabric was a start. The fact that we use a lot of chalk on our hands only adds to the connection. Plus there are little kids in the show family, so they can draw on the bag while they wait for a turn or a parent to return.

Not much of a tutorial to write, as it's a fairly simple bag. I cut 2 squares of fabric, 21" each. Sewed them together on 3 sides. I reinforced the seams with another round of stitching, since it's pretty sturdy material and I'd hate for the bag to fall apart at the seams. I made a box bottom and that was it for the main sewing.

I cut another rectangle, about 6" x 12" for a chalk pocket. I folded that nearly in half and sewed the edges shut. With the extra flap, I attached the pocket to the center of the top edge of one side. And that was it for all the sewing. I realize now it would have been more secure to have the opening of the pocket facing the fabric of the bag rather than the open middle. As it is, it's really easy to get stuff out, but it's also easy for things to fall out. It's all in what you need the pocket for.

I folded the top edge in about 2.75", to neaten up and reinforce things. The sail cloth is so tightly woven that it doesn't really unravel. The chalkboard cloth is rubbery with a thin woven mesh (like cheesecloth, a construction similar to oilcloth) on the back, so it doesn't unravel either. So there was no need to make a hem or sew the whole thing down. I attached grommets for a rope handle and then added 21" of rope, knotted at the ends, for handles.

I'm not such a fan of shoulder-carried grocery type bags. I don't know exactly why. Probably something to do with habit and the fact that until a few years ago, grocery bags only came in paper and had short handles. So I made short handles. In hindsight, it's probably best not to carry a bag covered in chalk too close to your body. Which is also why I didn't make both sides out of chalkboard fabric. I had a vision of myself walking along in stylish black pants and getting completely covered in chalk dust.

Saturday, August 18, 2012

Week 33 or Patchwork Lightweight


My neighbor left some quilting weight fabric on the back steps. I'm not 100% sure which neighbor, but I'm thankful nonetheless. It was long, narrow strips of two types of material plus random small rectangles of another.

My first step was to sew the rectangles into a strip. Just so they would work more easily with their compatriots. Then  I searched my stash for more long narrow bits, because I had what looked like a small bag and half, or a bag without straps, worth of strips. I found the border of a plushie panel from Spoonflower. You've all heard of Angry Birds, but this was Angry Vegetables. Not really something I want to use as a panel, so it became the facing for the upper edge. And, yes, my children like their roots of some evil.

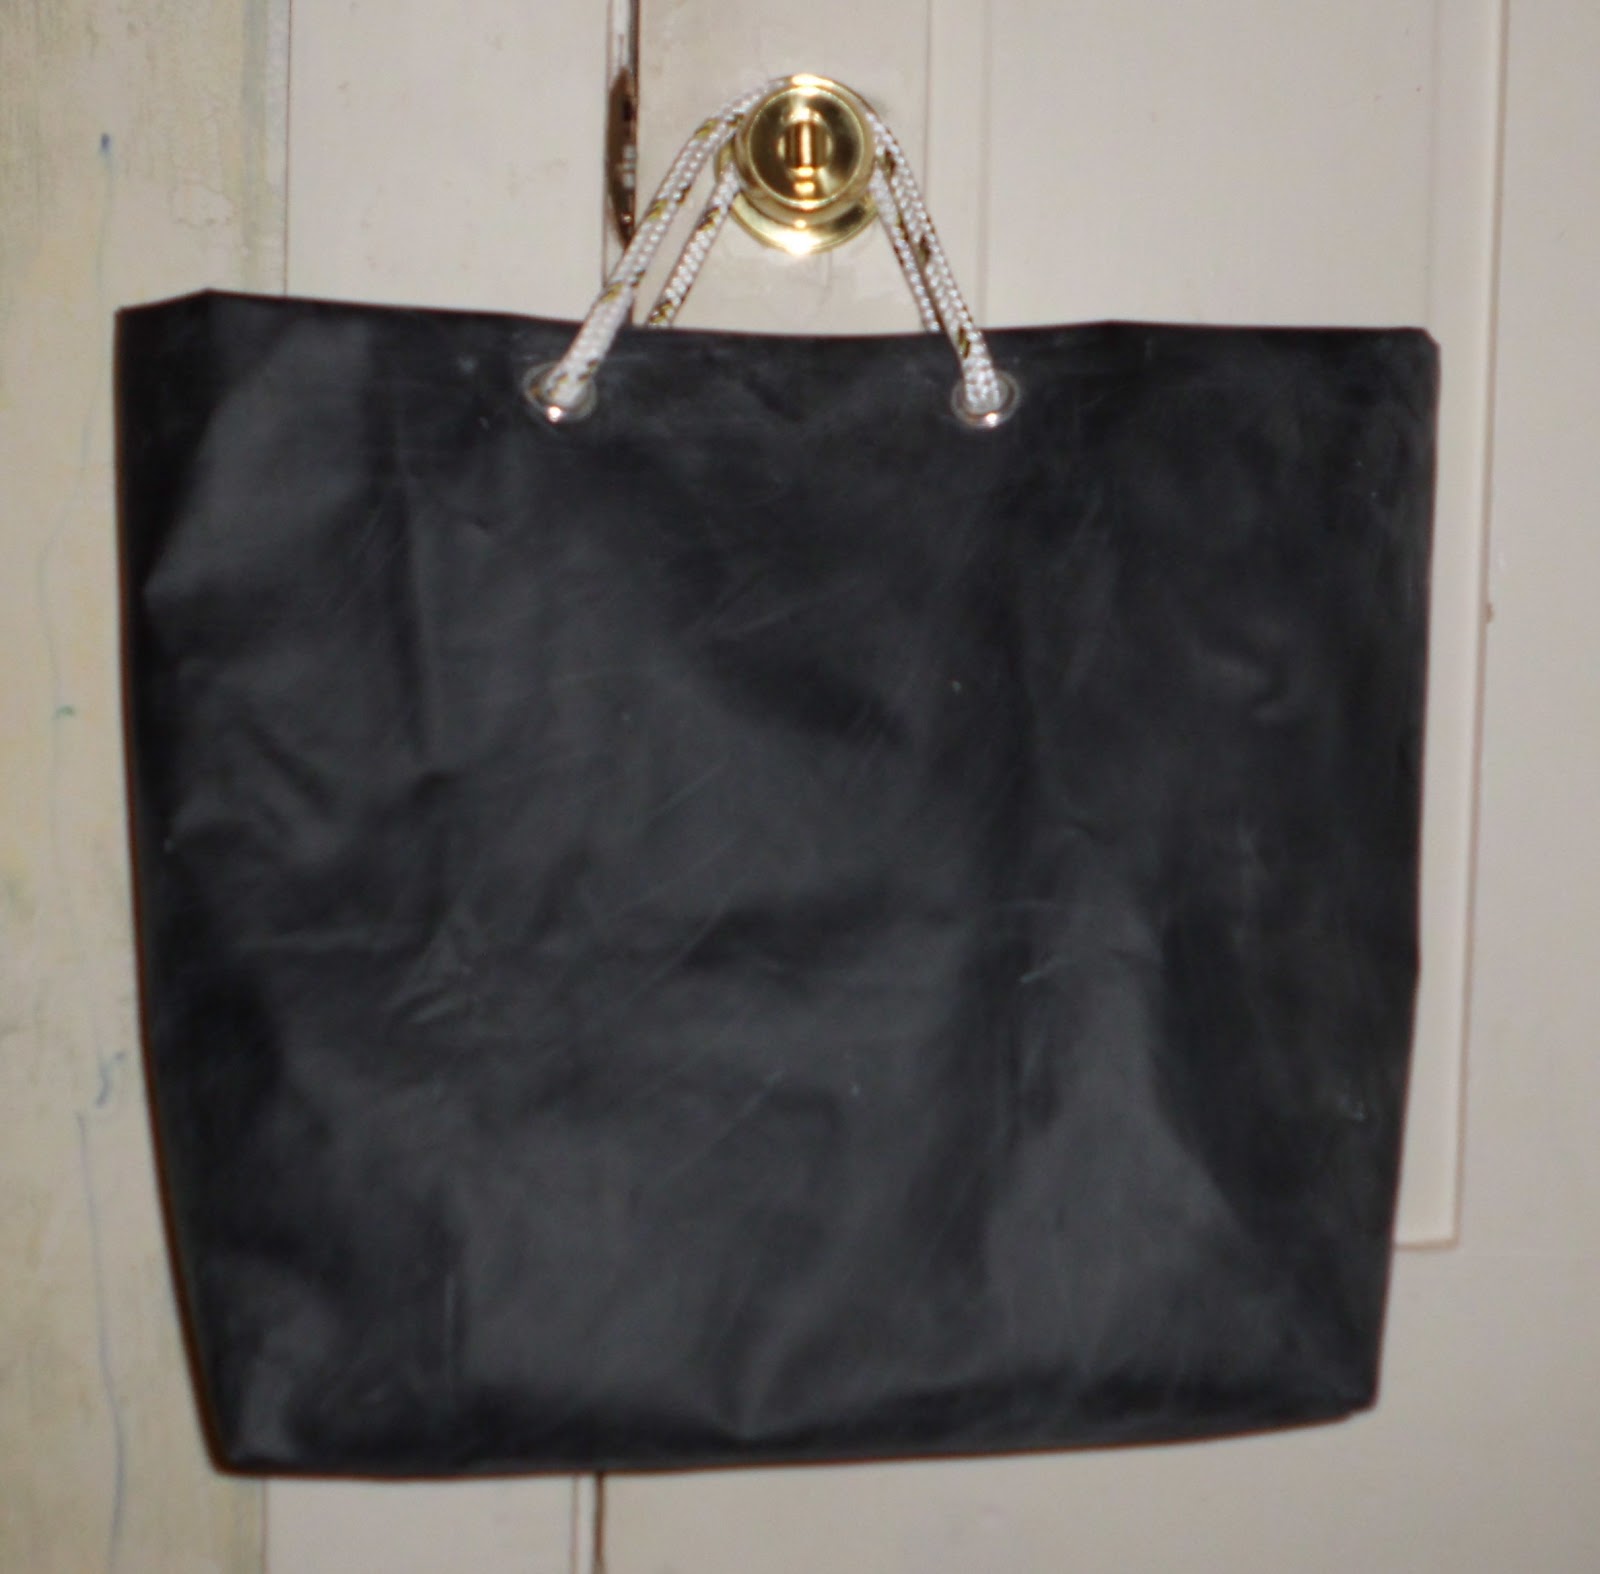
I was rooting around for a bag to imitate for size and found my old hieroglyphics bag from Cairo. It's about 17" square, with no box bottom or anything fancy. Mine had the straps replaced many moons ago and I can't use it for knitting any more on account of the holes in the corners. There's no WAY I paid $26 for that thing, but I did pay with a year of my life. If anyone asks, AFS, at least in Egypt in the 1980's, is like the Peace Corps, the toughest school year you'll ever love. I know I learned a lot more there than I ever would have staying behind to put in a 4th year of high school.
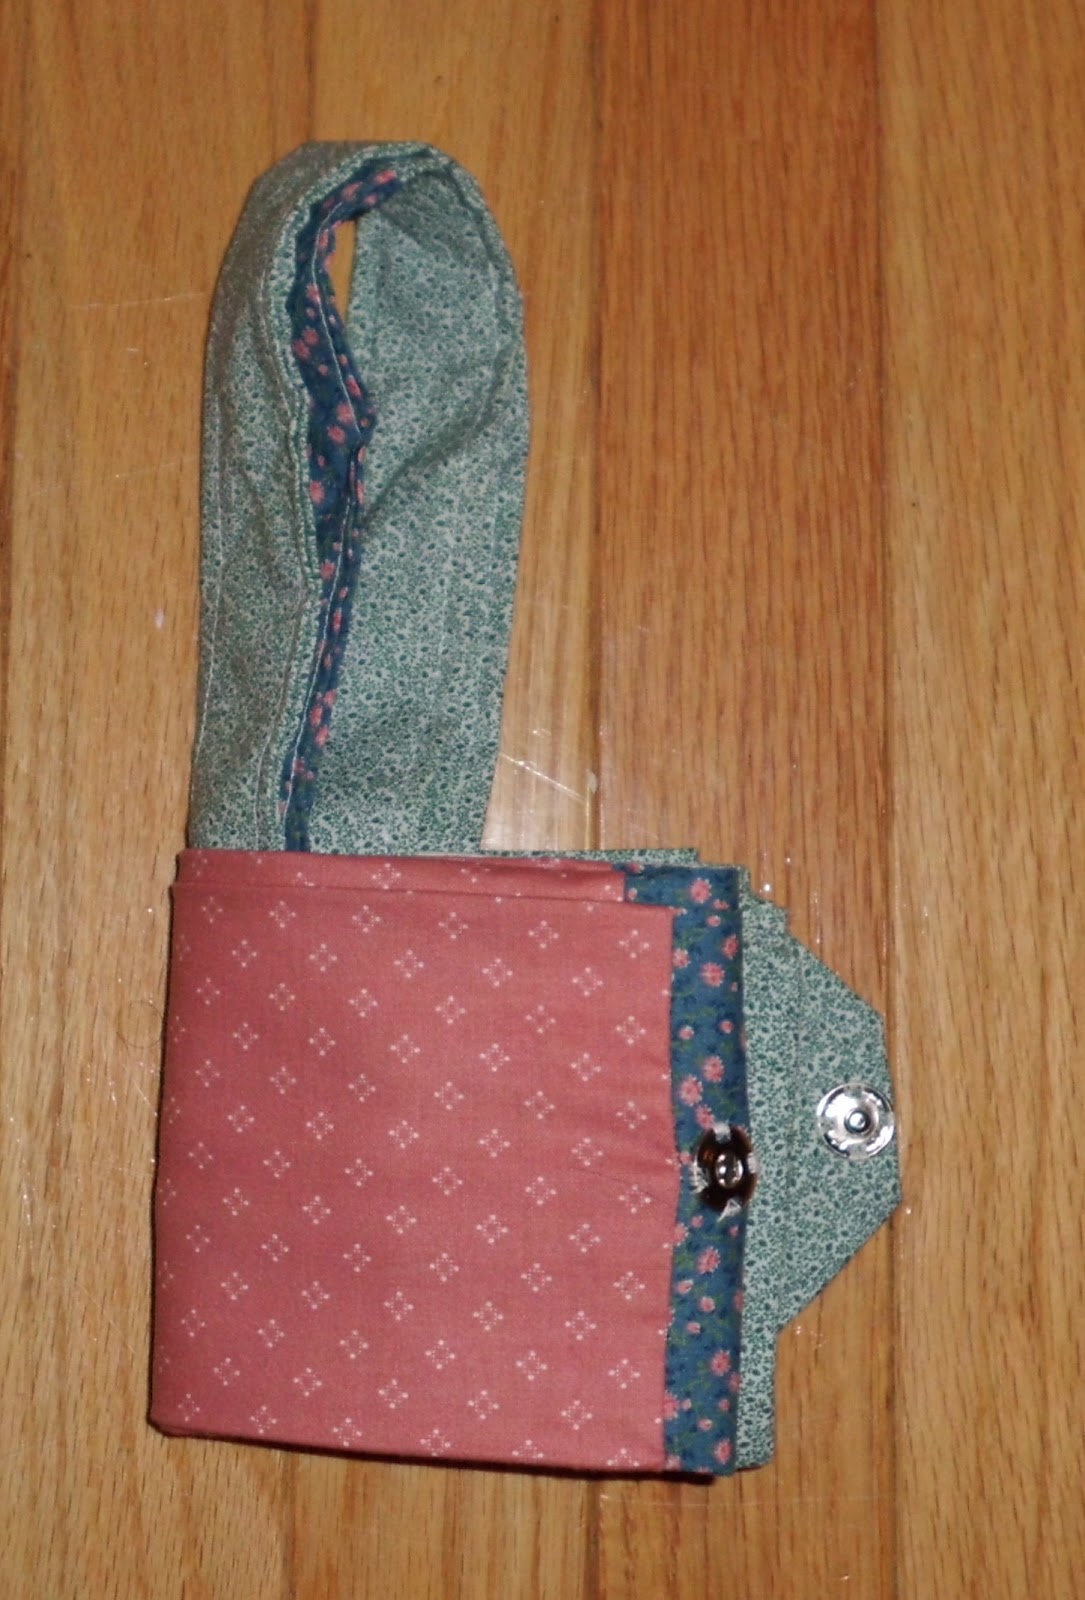
The female half of the snap.

With two strips of green and one each of red and blue, I cut 36" strips and sewed them together to make the bag body. The excess became the handles. I folded it in half length wise and then folded the raw edges into the center. Then I ironed it all nice and flat and topstitched along each edge. I did a rolled hem on the lower edge of the facing strip and all the pieces were finished.

First I folded the body in two and sewed up the edges. Then I pinned the handles and facing in place. Then I took out the pins because I had put the right side of the facing on the wrong side of the bag and the handles were not sandwiched between the two. Then I pinned the facing to the top edge of the bag, with the right sides facing each other and the handles sandwiched in between the layers. At last I sewed the ends of the facing together and along the top edge. Then I sewed 1/4" farther in from the top edge to make it all a bit more secure. I turned the facing to the inside and ironed everything good and flat. One last round of topstitching around the top and I felt like the handles would actually support a load of groceries and the facing would not flip over to the outside.

Folded once and showing the male half of the snap
 on the flap.
The last decision was how big to make the box bottom corners. I used to have a bag that would fold up and snap to itself, so I was working on that concept. (It was similar to this one, but smaller, without the logo, and with only one flap.) I divided the height of the bag(17") by 4.5 and used that number (3.77") for the corner size. I made one corner to the inside, like a normal bag. The other corner I made partly to the inside and then the rest to the outside. That became the flap for the snap that holds it all together. I sewed the snaps in place, first putting the "outie" (male) one on the end of the flap. Then I folded it up and marked where the "innie" (female) side should go. I put a scrap of fabric on the inside to reinforce the connection spot and sewed the last snap half on.
The strip.

Happy shopping!
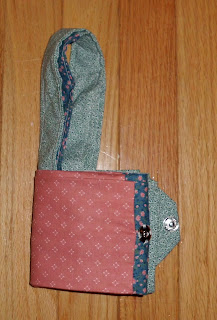
The strip folded twice and about to
perform snap-mating.
Ready to roll!

Friday, August 10, 2012

Week 32 or T-shirt Crochet


Last week, I mentioned that the family was off on vacation, so no bag. Well, we got back today and the bag is done! Nothing like sitting by the pool watching the kids go down the same 4 water slides for 3 hours a day to get stuff made. As long as it's portable.

This bag was my inspiration. Not that mine turned out anything like it. I was going for another grocery-size bag, and I succeeded.

First I cut up one t-shirt into 1 1/14 inch strips using these directions. I grabbed my size P (11.5 mm) hook and started with a 20-stitch chain and then doubled back and did single crochet until I ran out of t-shirt yarn. I had to do 2 stitches in 1 a few times to keep the bottom straight, but I don't remember the exact numbers. Just make it flat. If it curls up into a bowl shape when you're around the corner, you need another stitch or two. If you made a ruffle, you need to take out a stitch or two.

Then I went rummaging through my dad's house and found 7 more shirts, only one of which was colored. I turned 3 of them into yarn. Eventually I got back home and used my rotary cutter, cutting mat and clear plastic gutting guide to make the strips. My hands were happy for the relief from the heavy scissor work.

I did a lap-join (overlapping the ends by about 6" instead of tying them together) and did a row of single crochet with no stitch increases. Then I switched to double crochet for the rest of that shirt and all but the colored and one white shirt. Each (men's size large) shirt only made 1.5 rows, at about 1" per row.

I wanted the colored strip to be a fairly even height and not have a super-obvious beginning and end, so I took it down to single crochet and got 3 rows almost exactly. As luck would have it, I began and ended at the end of the bag, so it's even less obvious. Completely invisible when photographed from the correct side!

I continued with the single crochet but switched to the last white shirt. I did one complete round and then formed the handles. Two inches before the center of one side, I broke away and made a 10-stitch chain. Then I skipped 6 stitches and rejoined the round. I continued on until I got to the same place on the opposite side and did the same thing. After that join, I continued with single crochet until I got to the first handle. Single crochet made it too thick, so I switched to chain stitch on top of the handle. At this point, I was worried, and rightly so, about running out of yarn before I got to the second handle. So I kept up with the chain stitch until I ran out of yarn. I worked the end in and the bag was done.

I'm proud to say that this bag is made of 100% post-consumer recycled material. No "exclusive of decoration" disclaimers necessary. And all the arms and stuff I didn't use here will get used as rags until they fall apart completely. All I have to do is sew in my tag. Click here to buy it now.

Sunday, August 05, 2012

Week 31 or Vacation

I'm supposed to be on vacation right now, but I'll check in to say I'm working on a bag. It's based on this tutorial for a drawstring bag. I took one of my husband's old shirts with me, thinking it would be enough to keep me going for a little while, if not to finish the bag entirely. As it turns out, one shirt will only make the bottom of a bag for me. Luckily my dad is married to a pack rat, so I was able to get more shirts from him, along with one of my own that had been languishing in his basement since my college days. No need to get specific, but it dates from the last century and then some. But it's tie-dyed, and the rest of the shirts are white, so there will be a stripe of color in the mix. Since my goal is to use up fabric, I will not be running out to the thrift store for more shirts, so the bag will be as big as the shirts allow.

One note on finding things. I spent about 20 minutes ransacking my fabric and yarn boxes looking for my giant crochet hook. I bought it just for a project like this, to work with t-shirt yarn. Then I moved my "office" space within the house and put my roll of knitting needles and crochet hooks somewhere very sensible and obvious. To my 6-months-ago-self. My today-self did not think the spot so obvious any more. Now that I have the hook, though, I will be on the lookout for more shirts from which to make a crocheted rug for the living room.

Another fabric score comes from a teacher friend who just moved and must have found things in the process. I now am the proud owner of chalkboard fabric. Which until now I did not know existed. I think I shall have to use it for the 3rd Lego box/bag/mat. How fun is that? It's nice and sturdy and the kids can sketch their ideas on the lid!