Saturday, January 28, 2012

Week 5

I've been collecting broken umbrellas for different reasons. At first, I wanted the frames to make little greenhouses for the container garden on my sidewalk. Then I had to find something to do with the fabric, so I made a bunch of umbrella skirts for my daughters and myself. Then I thought I'd make a bag, but I wasn't quite sure how to do it. So I just made it up as I went along.

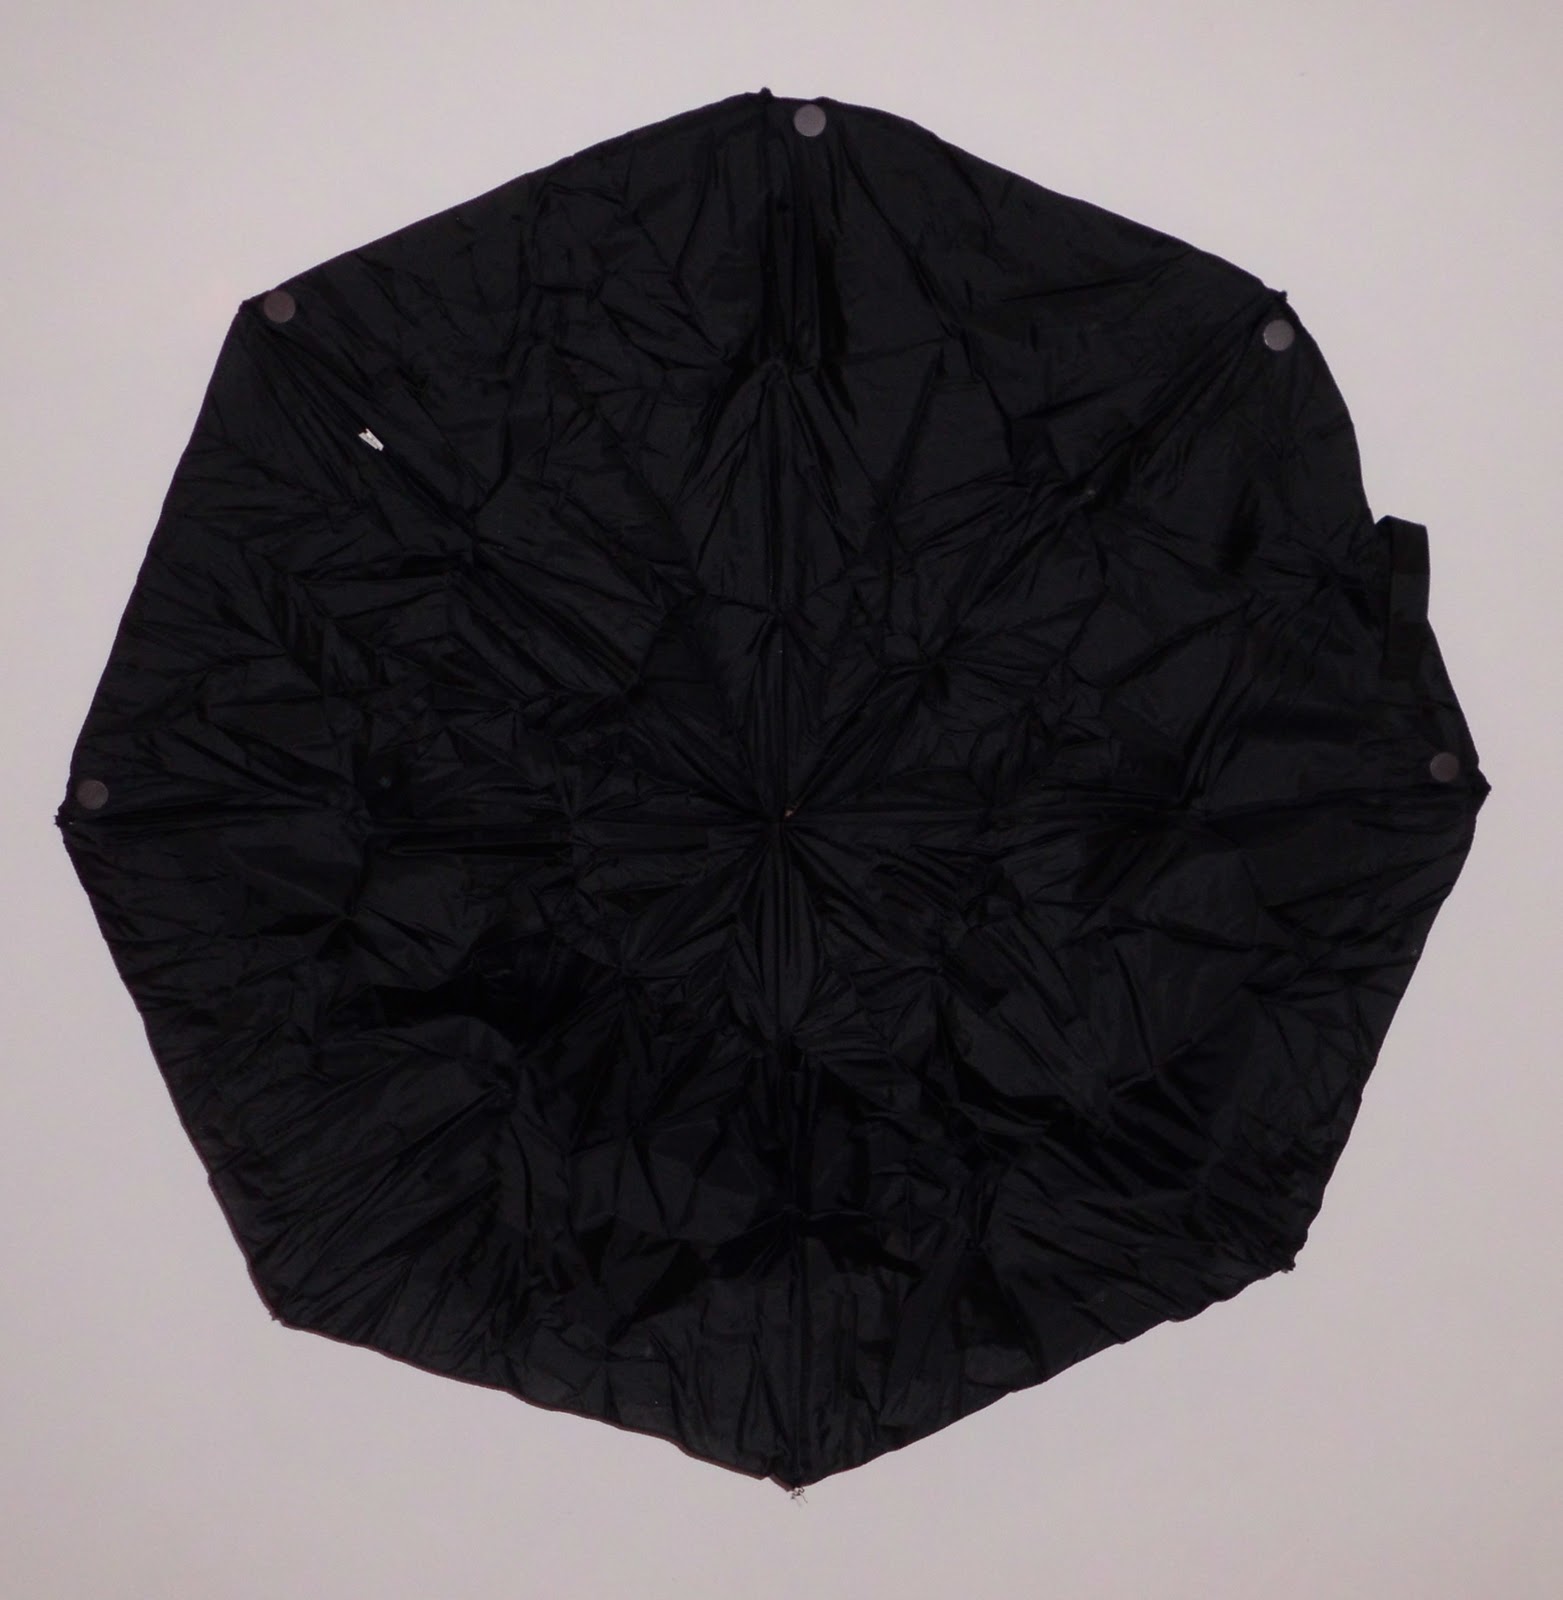
First you cut the fabric off the frame. I used a seam ripper because you can stick it in the little loops of thread and cut them without touching the fabric.

Then you cut the fabric away from the top hub. This leaves a little hole, which I had been wracking my brain trying to figure out how to close it. At this point, it probably would have been a good idea to iron the fabric, but I left that for the final step.

Before going any further, I reinforced the seams from the outer edge in to the last snipped attachment point. The sewing unravels very quickly, but I realized I might need to open up the seams to make the bottom work. It ended up being a convenient place marker later on.

I decided to use half of the sections to make inner pockets. For this umbrella, that meant 2 inner pockets. If your umbrella has only 6 sections, you'd could leave 4 sections for the outside and get one pocket or have just one flappy pocket and 2 inner pockets. I wanted to keep the closing tab to be able to pack the bag up, so I made sure to leave that section as an "outer" piece. I folded the fabric in half along seam lines and just sewed the two outermost quadrants together along the seam line, down to the same point I stopped reinforcing.

Then I lined up the outermost corners with the opposite new seams and sewed along that line to the same point. If you look at the open end of the 8-panel bag, you can make a square with the four outer panels and a four-layer diagonal. 3 pockets for the price of 2!

The trickiest part was figuring out how to close off the bottom. I ended up making an X along the two diagonals of that square. I turned the bag inside out with the pocket diagonal folded in half. I marked a line perpendicular to the outer edge where I wanted the bottom to be. I chose the end of the reinforcement sewing again, but you could put it anywhere. I pinned across the stopping point and turned the bag right side out to check that I had the correct spot. Then I sewed along the line. Then I did the other side.


Next, I turned the bag inside out at the center of the pocket diagonal and basted that shut.  I noticed that the bottom corners I had just sewn weren't anywhere near each other, so I took out the center of the seam, pulled them into place and sewed it again.


I couldn't find any narrow black strapping, like you'd find on a bike helmet, so I used some leftover blue satin ribbon. I folded that in half end to end, sewed the edges together then cut it in two. I placed the handles so the top edges make an X when you pick the bag up.

You can still fold it up and throw it in your bag like the compact umbrella it once was, only now your wallet won't get wet. I'm not sure how practical it is for carrying large amounts of stuff, but it was fun to figure out how to make it and I like the way it looks.

Saturday, January 21, 2012

Weeks 3 & 4

I'm getting ahead of myself. Once again, I have taken one garment and made 2 bags. This week, it's a button-down shirt.

The first bag is a pure recycle, nothing added but thread. A model I've made before. I like to think it's getting better each time. Actually the first one was really quite good, the next two were way too big and now it's good again.

The body of the bag is made from the body of the shirt. The button placket has been sewn shut, but the chest pocket remains. I used some scraps to make handles.

The finishing touch, a stroke of genius if I do say so myself, is to use a cuff to make a dual function closure. You can roll up the bag and use the cuff to keep it small and tidy when not in use. Or you can use the cuff to keep the top closed and stuff from falling out when it's full. Like two baguettes.


The second bag has some sail fabric added. As I mentioned before, I picked up a pants-bag full of scraps from a local sail maker. The dark blue goes with the plaid, so I used one strip for the sides and bottom and another for a facing strip at the top.

The front and back of the bag are cut from the sleeves of the shirt. I've made bags from just sleeves, but they're always a bit too small to be really useful. (Apologies to those of you with kids in the Thomas phase.)

One handle comes from the collar and the other is made from another scrap. I kept the button & buttonhole on the collar and added one of each on the other side of the bag so it could be closed up a bit. This bag does not have a handy dandy folding mechanism, but I like it just the same.

Monday, January 16, 2012

Weeks 1 & 2


This project started out two weeks behind. Story of my life, these days. So I did a 2-from-1 project. The classic jeans bag, top and bottom.

Before:

Actually, they did start out as a complete pair of jeans. You can see the ragged edge of the hole at the bottom of the top half, left leg. I've already unraveled the seams, which goes quickly once you find the correct end of the thread to pull.


After:


The waist bag has handles made from cotton webbing meant to be used for the seats of Shaker-style chairs. The Shaker Workshop, in Arlington, MA, sells short lengths of webbing at a discount. It's not enough to make a chair, but it's just right for the straps on yoga mat bags, which I used to make in quantity.


The leg bag's handles are a composite of pink camouflage and purple swirls.

In the beginning...

So, Facebook isn't enough any more. I need to spout my quotidian rantings to a wider audience.

Actually, I told folks on Facebook I'd be making a bag a week this year. To keep myself true to the goal, I need accountability. While I dislike obligations, my therapist keeps telling me I need structure, so maybe this will help that.

I use cloth shopping bags. I make them. People give them to me. I have a ton of them. I keep getting new ideas for what I can use for materials to make more of them. I have accumulated so much material that I told myself I would not take in any more this year. (Yarn, too, but that's not quite as out of hand yet.) So please do not offer me any fabric, or yarn, until at least June. I occasionally give a bag away to the clerks and baggers when I'm out shopping if they get all giddy about them, but I still have a ton of bags and a ton of ideas and a ton of fabric.

I want to make more bags, but I need an outlet for them. There's a short line of commenters on Facebook already, but not 52. Each one of them will be getting a bag, along with 42 of you. If I never get that many comments, the folks at Market Basket will be ecstatic.

So, what's in the materials stash and what's in the idea stash and what's already been done?

Materials:
a couple of old button-down shirts from my husband
a sail from my neighbor. Who has already been promised a bag in exchange for that, but there's a lot of yardage in that little boat's sail
sail scraps from a local sailmaker's workshop
jeans with holes in the knees
more quilting fabric lengths than you can shake a stick at
rope
cotton tape meant to make the seats of Shaker-style chairs
straps cut off various backpacks, bike helmets and the like
zippers, snaps, grommets

Ideas:
classic grocery bags
round-bottom bags
duffels
lunch totes
small IKEA-style bag, out of production by them but easily reproduced
stuff sacks

What's been done already:
The jeans bag, which is generally large and heavy, but draws a lot of comments and has the advantage of pockets
The shirt bag, which is lighter and more manageable in size and can be rolled up and buttoned shut
Billboard bag, which is just that. A bag made from a billboard, which is just a tarp with printing on it. These were grocery and lunch sized and are now all gone, the last few to the folks at Occupy Boston. One special one ended up as a messenger bag.
The small sail bag, which was a 5th birthday present wrapping. Dang, that sailcloth is tough stuff!

Thanks for joining me on my year of creating. If anything strikes your fancy, let me know. If you have any suggestions on what to make, do tell. You may end up being a bag tester.